
Whether you are still driving your RV, trailer or camper around during these autumn months or are getting your RV ready for outdoor winter storage, weatherproofing is an important detail to consider. Proper weatherproofing helps prevent water from entering and damaging your RV.
Don't let the weather rain on your RV parade. You don't want water to leak slowly into your RV over the winter months. Take a look at how to weatherproof your RV to keep the interior dry and free from water damage.
Seal the Windows
The original factory seals around the windows of your RV or camper are flexible in order to withstand movement as the vehicle travels. Over time this putty-like seal can move away from its original location or deteriorate, exposing window cracks to the elements. No weather-sealing product lasts indefinitely, so it might be time for you to seal around each window again.
Silicone caulk is available in caulking tubes. To start, make sure the exterior area around the window is clean and dry so the caulk adheres cleanly. Slowly run a generous line of silicone around the entire window frame. While wearing rubber gloves, use your finger in one continuous motion to press the silicone into the crack while simultaneously smoothing the caulk out. Most silicone caulk is dry within 24 hours.
Seal the Lights and Access Panels
A surprising and frequently overlooked source of leaks in an RV is around exterior lights. Using the same silicone caulk, create a bead around each marker light, signal light and other exterior light fixtures.
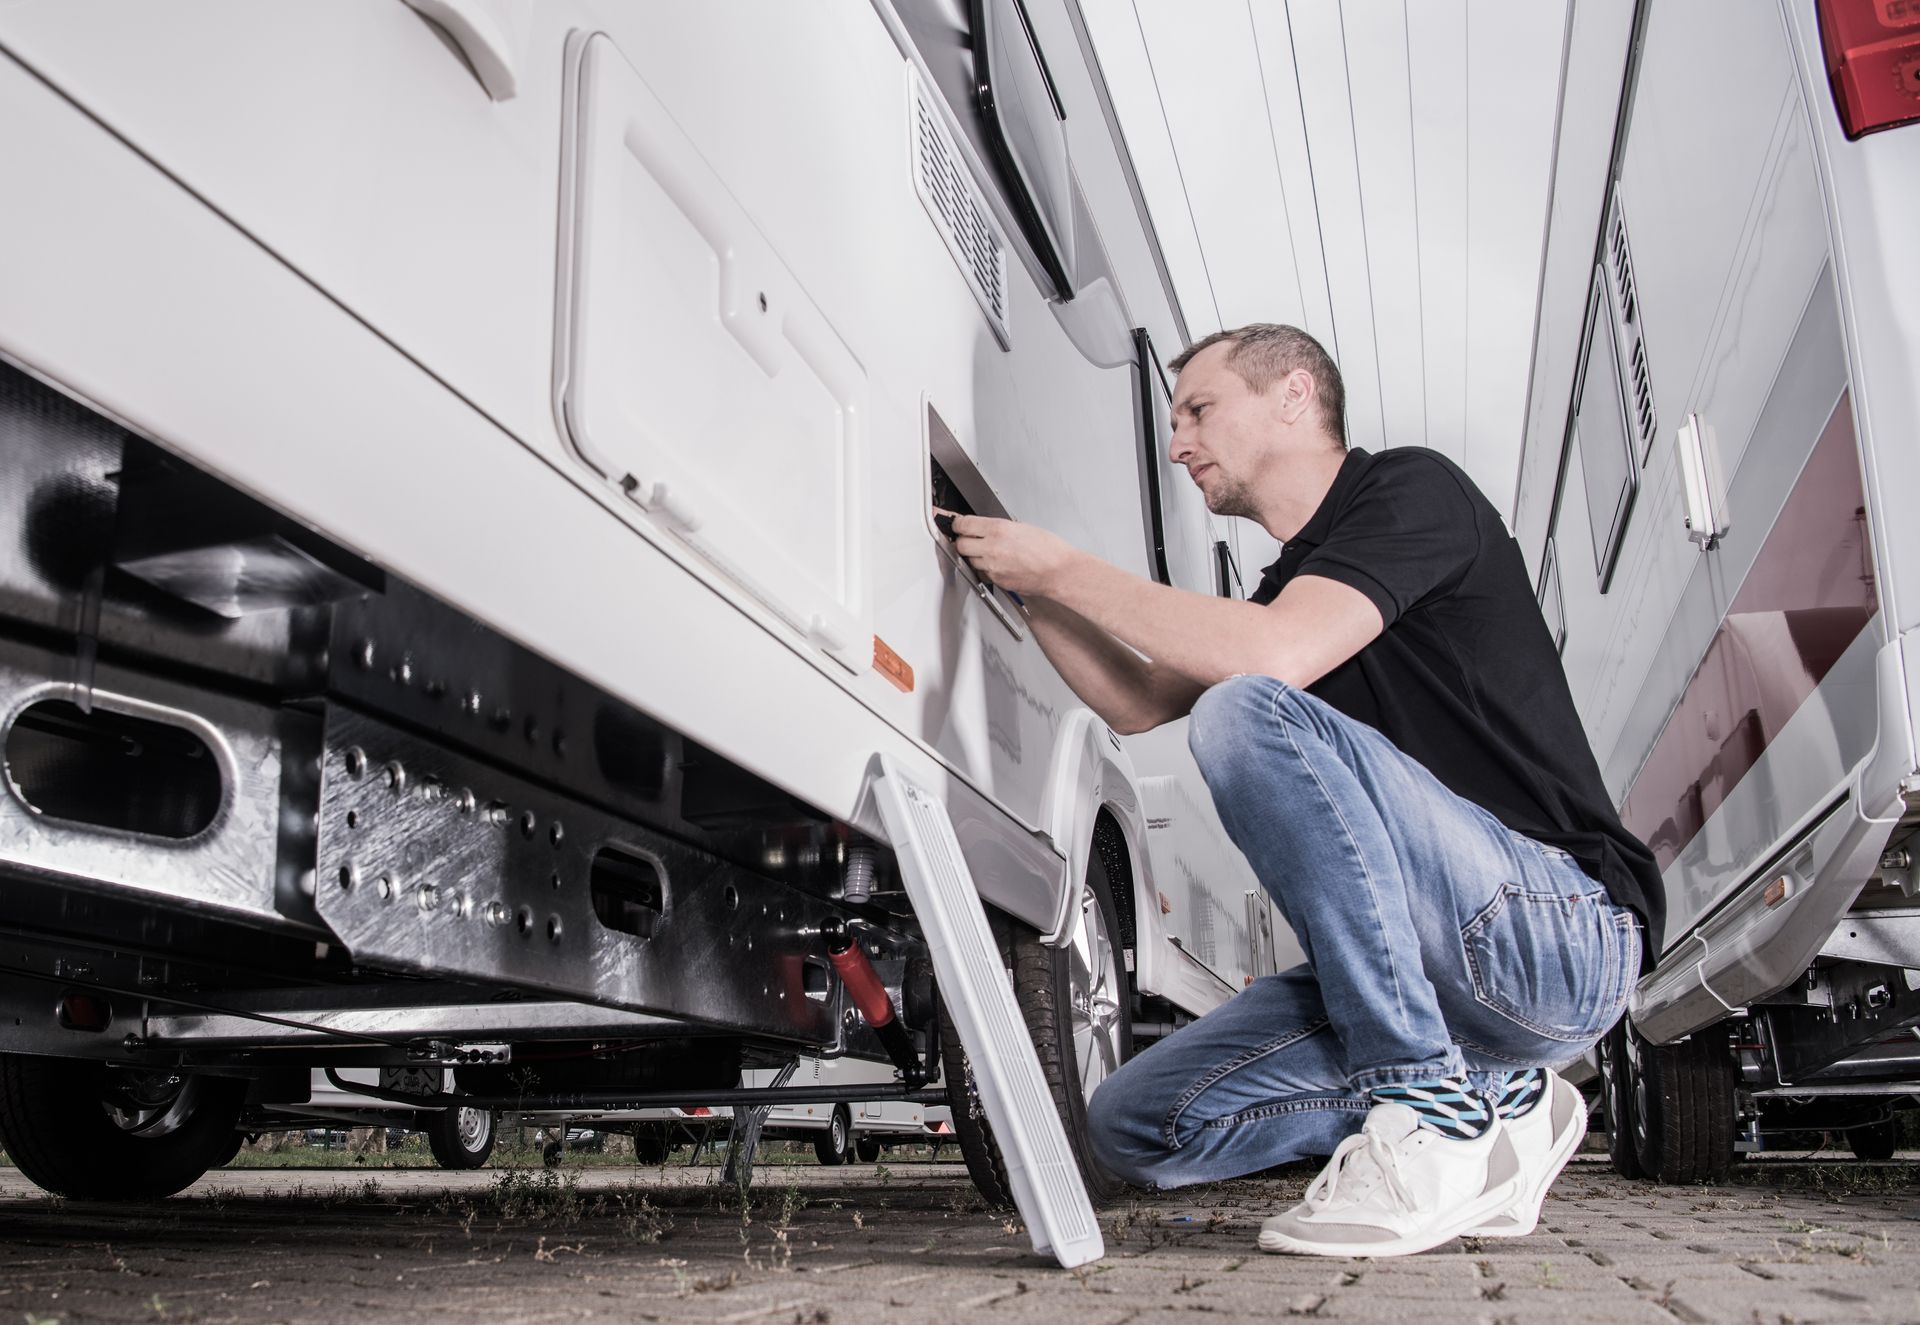
Access panels are another weak area where water can creep in over time, and they should be sealed with silicone caulk. If you know you won't use an access panel for a long time, you can weatherproof it even more thoroughly by placing aluminum tape along the sides as well. Then, simply cut the tape off when you need to access that panel in the future.
Anything else protruding from your RV is capable of becoming a source of a leak and should be sealed. Check and apply silicone caulk above the water guard over the door, about the door frame itself, and around pop-out seams. If something sticks out, seal it.
Clean and Seal the Roof
Whether the surface roof of your RV is broken by air conditioners, skylights, vents or nothing at all, the roof is still susceptible to leaks at its seams. Remember, if something has a seam or an opening, it can leak. Here's how you can help your roof continue to protect your RV and keep it dry all year.
- Clean the roof of your RV using warm water and a non-abrasive mild soap. Make sure all dirt and soap are completely removed before letting the roof thoroughly dry.
- Determine your roof type - whether EPDM or TPO rubber, aluminum or fiberglass - by consulting your owner's manual. Roof type can influence which weatherproofing method is best to employ.
- Apply the proper type of caulk along all visible seams of the roof and around skylights, vents and the frame of the air conditioner unit. Do not seal the AC unit, as doing so might interrupt the condensation drainage and trap water inside the RV.
- If you want the entire roof of your RV or trailer to look great in addition to staying waterproof, consider applying a complete roof coating once your caulk has cured. A roof coating establishes an even, monochrome coating over the whole roof.
By applying a weatherproof silicone seal around the windows, exterior lights, access panels and other protruding elements on your RV, you can prevent most leaks from entering. If you feel like a more professional solution is better for preventing water leaks in your RV, contact RV Service Center of Santa Cruz.