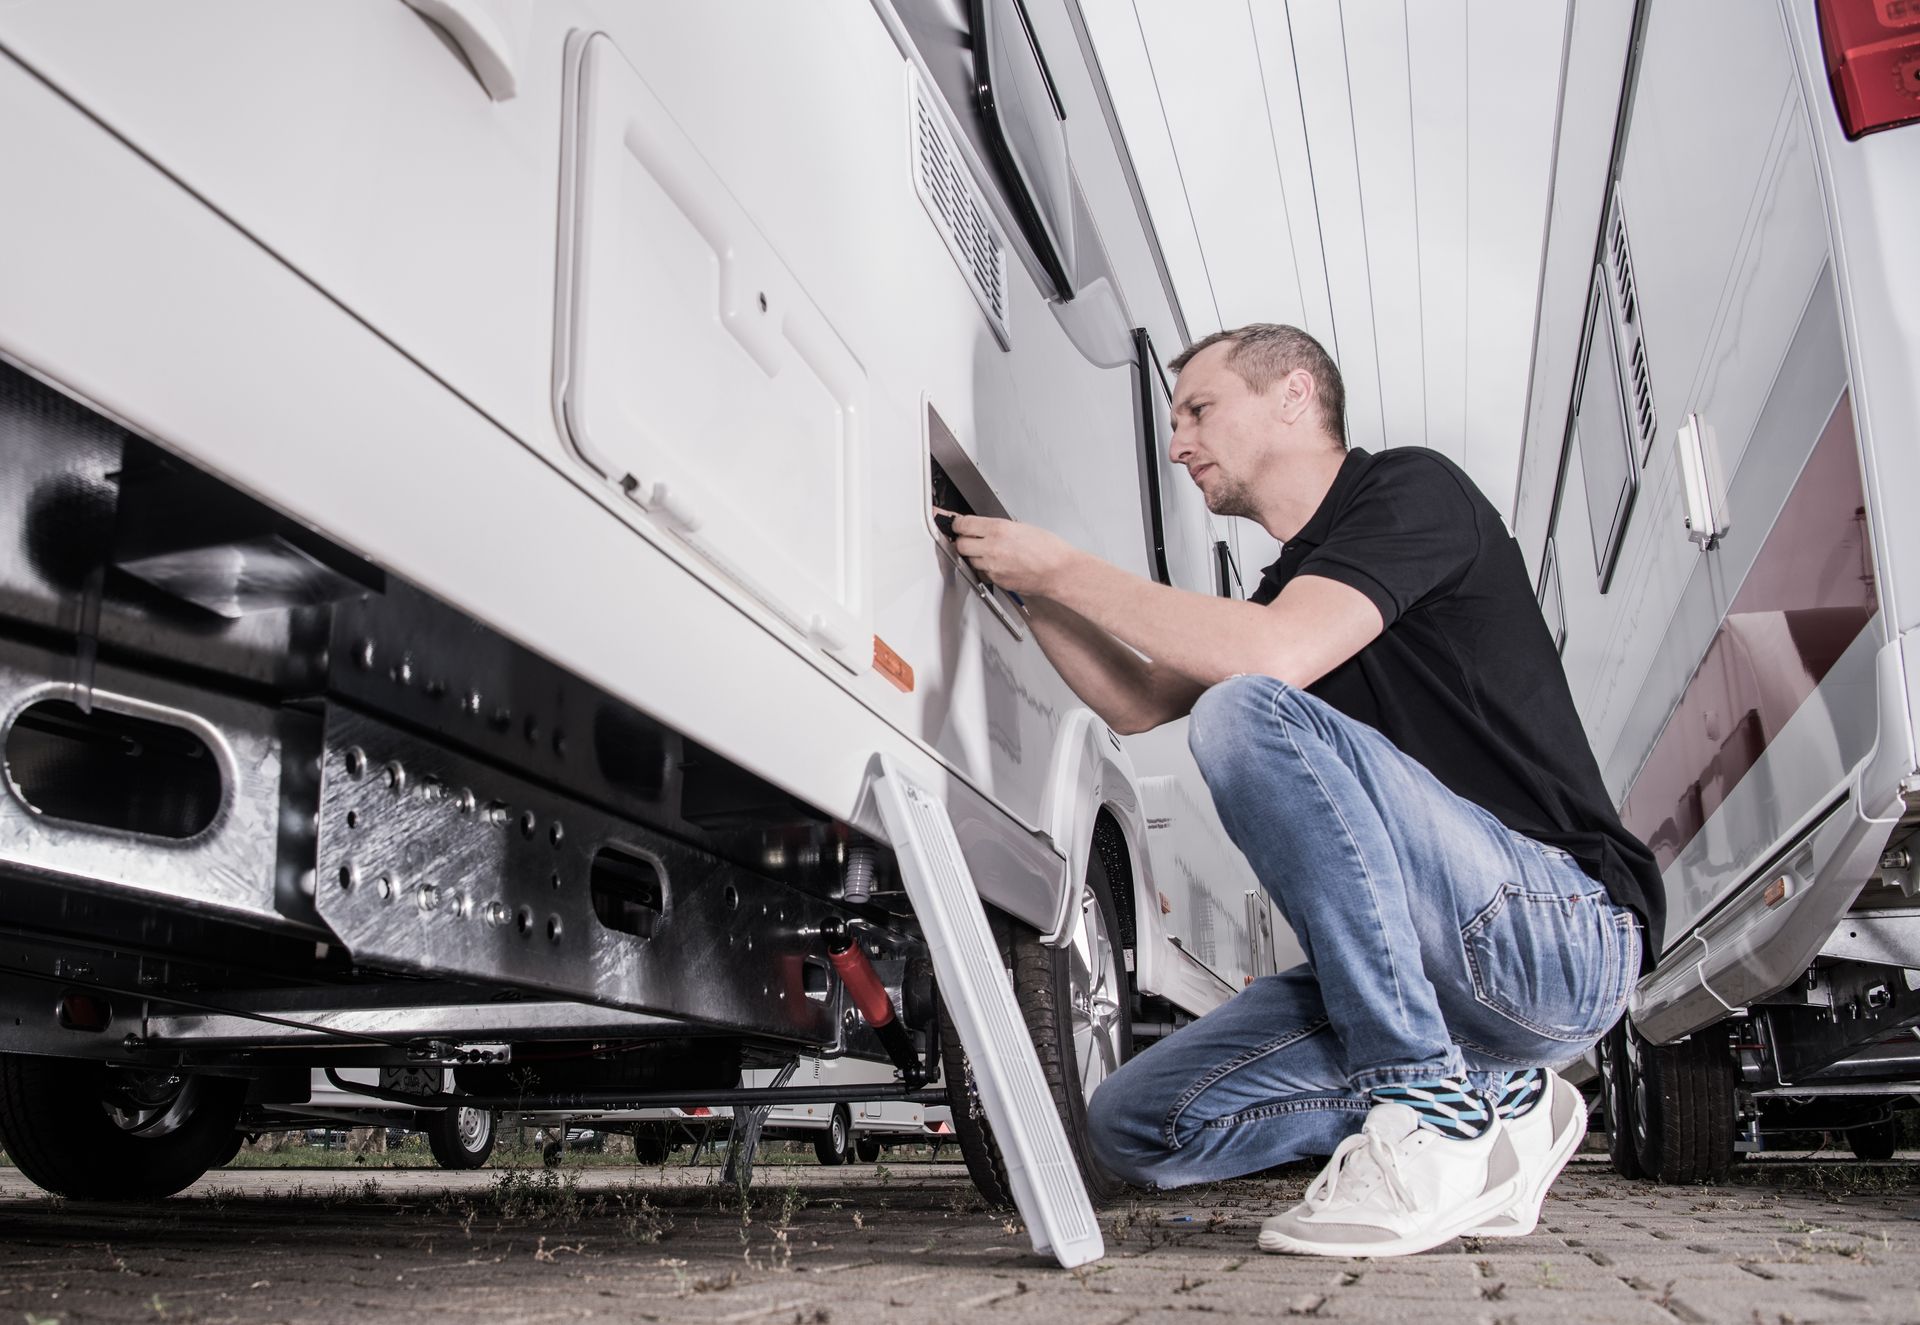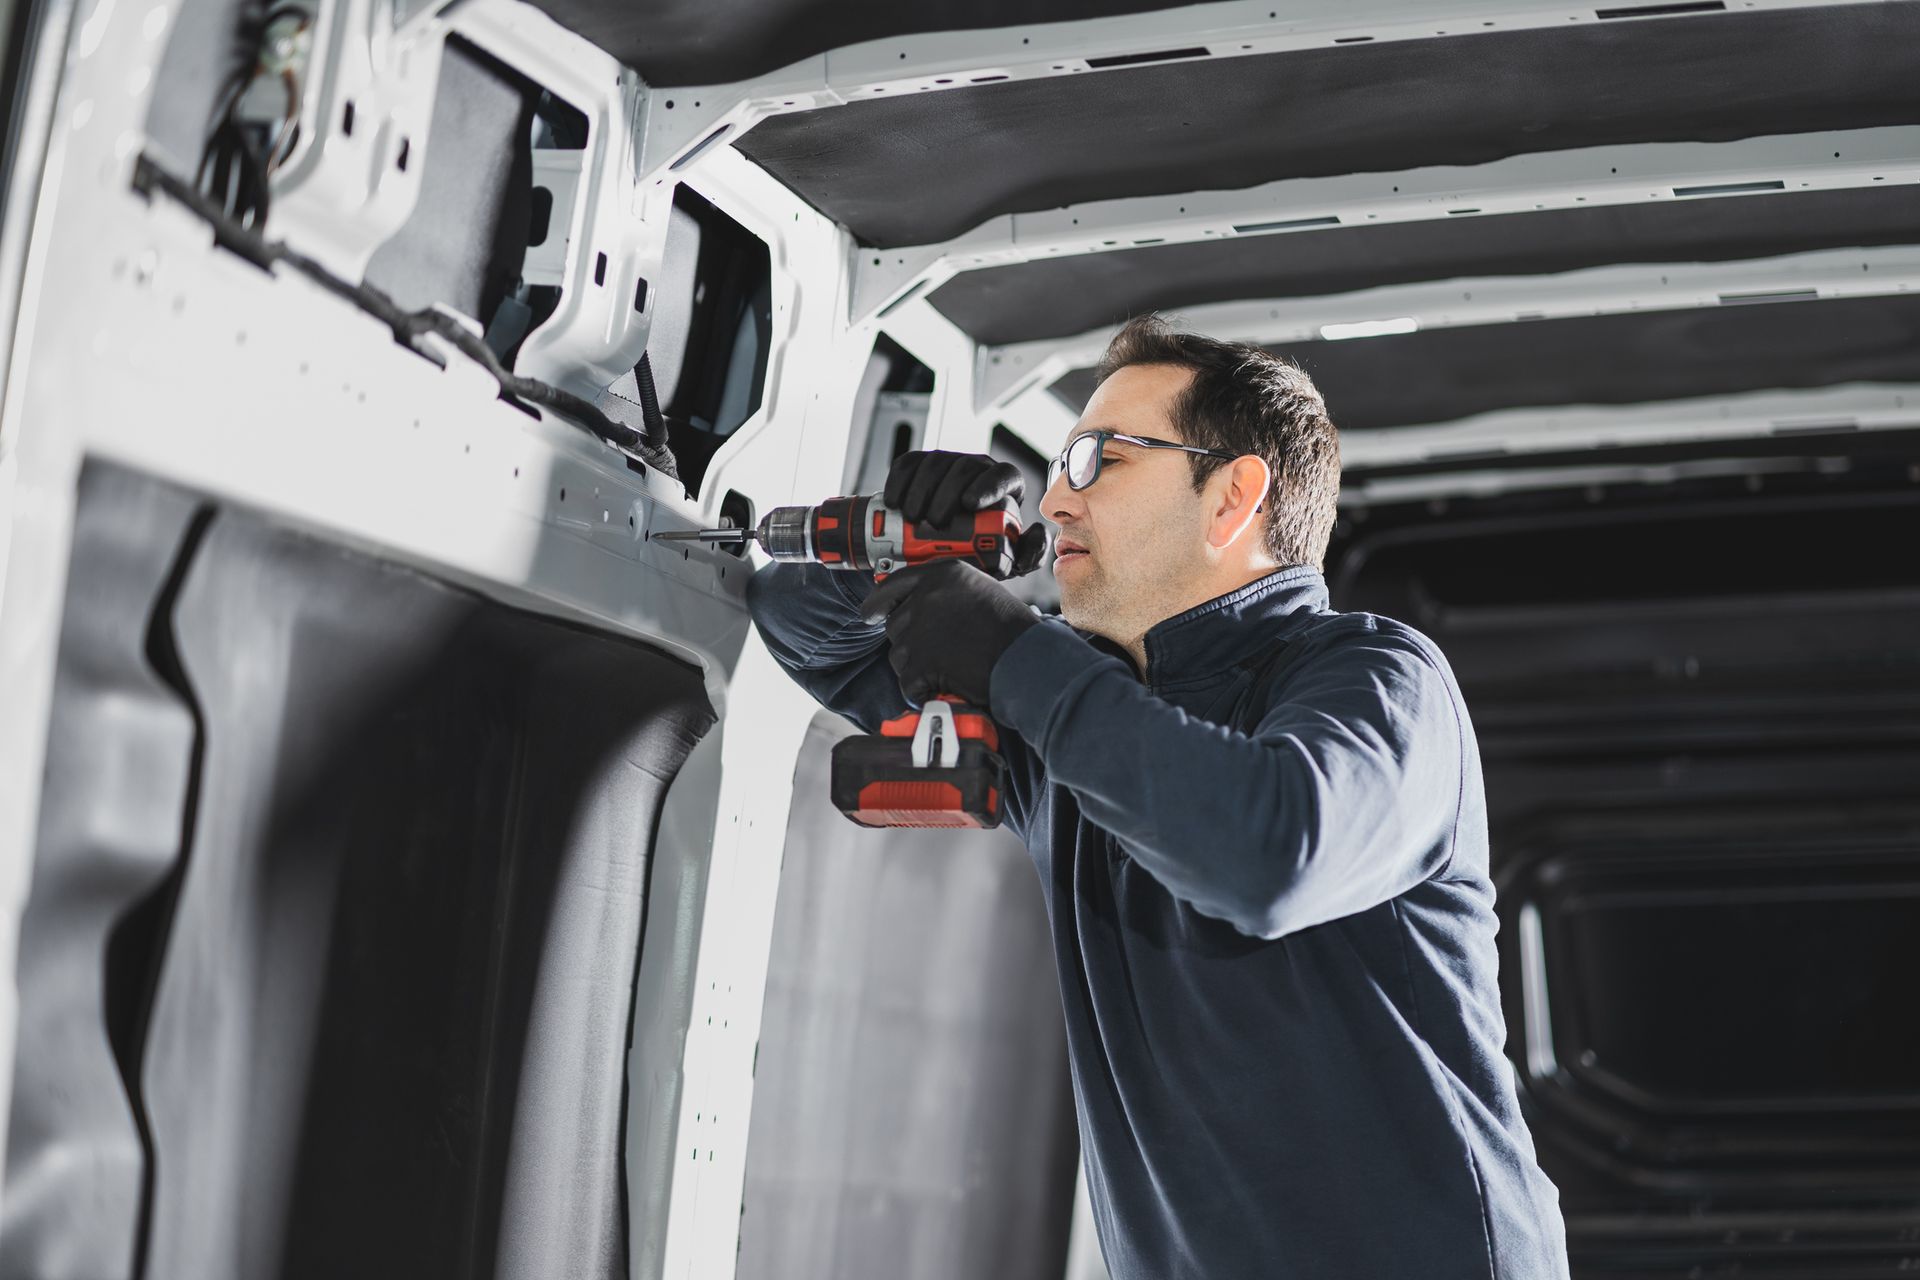

If your recreational vehicle's (RV) air conditioner is leaking, then it is probably time to replace the rooftop gasket that seals the unit. As this gasket ages, it becomes brittle, hard, and unable to seal the opening, thus permitting moisture to enter the RV. Below is how you can replace an old gasket with a new one and eliminate a frustrating air conditioner leak.
Tools and Supplies You Need
You’ll need the following tools:
- Screwdriver set
- Wire cutter
- Utility knife
- Putty knife
- Rubbing alcohol
- Soft cloth
- Heat gun
- Wrench or socket set
- Old blankets or towels
- Gasket
Gather these before you start your repair.
Step-by-Step Replacement Guide
You’ll need to take five steps to fix your worn gasket.
1. Protect the Rooftop of Your RV From Damage
Before beginning the job, you will want to protect your RV's exterior from being damaged as you work. That is why you should place old blankets or towels around the air conditioner to prevent scratching the paint. If necessary, you can use masking tape to help hold the blankets or towels in place.
2. Remove the Shroud From the Air Conditioner
Once you place blankets or towels, the next step is to remove the shroud covering the air conditioner's interior parts. While each model varies, it is likely that bolts or screws are used to hold the shroud in place. Locate these bolts or screws and remove them; be sure to place the fasteners in a safe location where they won't be lost. Carefully pull the shroud off the unit's internal components, and set it aside.
3. Remove the Air Conditioner From the Roof
After getting the shroud out of the way, you will be able to access the fasteners holding the air conditioner to the roof. In general, RV air conditioners are put together like a sandwich. A metal bracket is fastened to the underside of the RV's roof, with a gasket located on top of the roof beneath the air conditioner itself.
Several screws or bolts hold it all together and compress the air conditioner against the gasket. Remove these fasteners to free the unit from the RV.
Next, look for the electrical connection to the air conditioner from the RV and observe the connection type; if it is fastened with a harness-style connector, carefully unsnap it. If there is no connector, then you may need to carefully cut the three wires with a pair of cutters. Be sure the power is disconnected from the air conditioner before attempting to make the cut. Slide the air conditioner out of the way, taking care not to damage the RV's exterior or the unit.
4. Remove the Old Gasket and Putty
After the air conditioner has been removed from its location, carefully pull the old gasket away from the roof or cut it away with a utility knife. If there is any residue remaining, such as putty or remains of the gasket, then use a heat gun to soften the material and scrape it gently with a putty knife. Clean up the site with a soft cloth and rubbing alcohol to create a perfectly clean surface for the new gasket.
5. Place the New Gasket and Restore the Air Conditioner to Its Location
Once the old gasket is removed and the site is clean, place a new gasket over the opening in the roof. Next, position the air conditioner over the gasket and reattach it in reverse order to the rooftop. Reconnect the wiring harness or use wire nuts to join the wires together. Finally, reattach the shroud and test the unit.
If you are not comfortable making the replacement yourself, then contact a qualified RV air conditioning repair specialist
for assistance. They can replace the old gasket and also perform other maintenance or tune-up activities on your air conditioner.